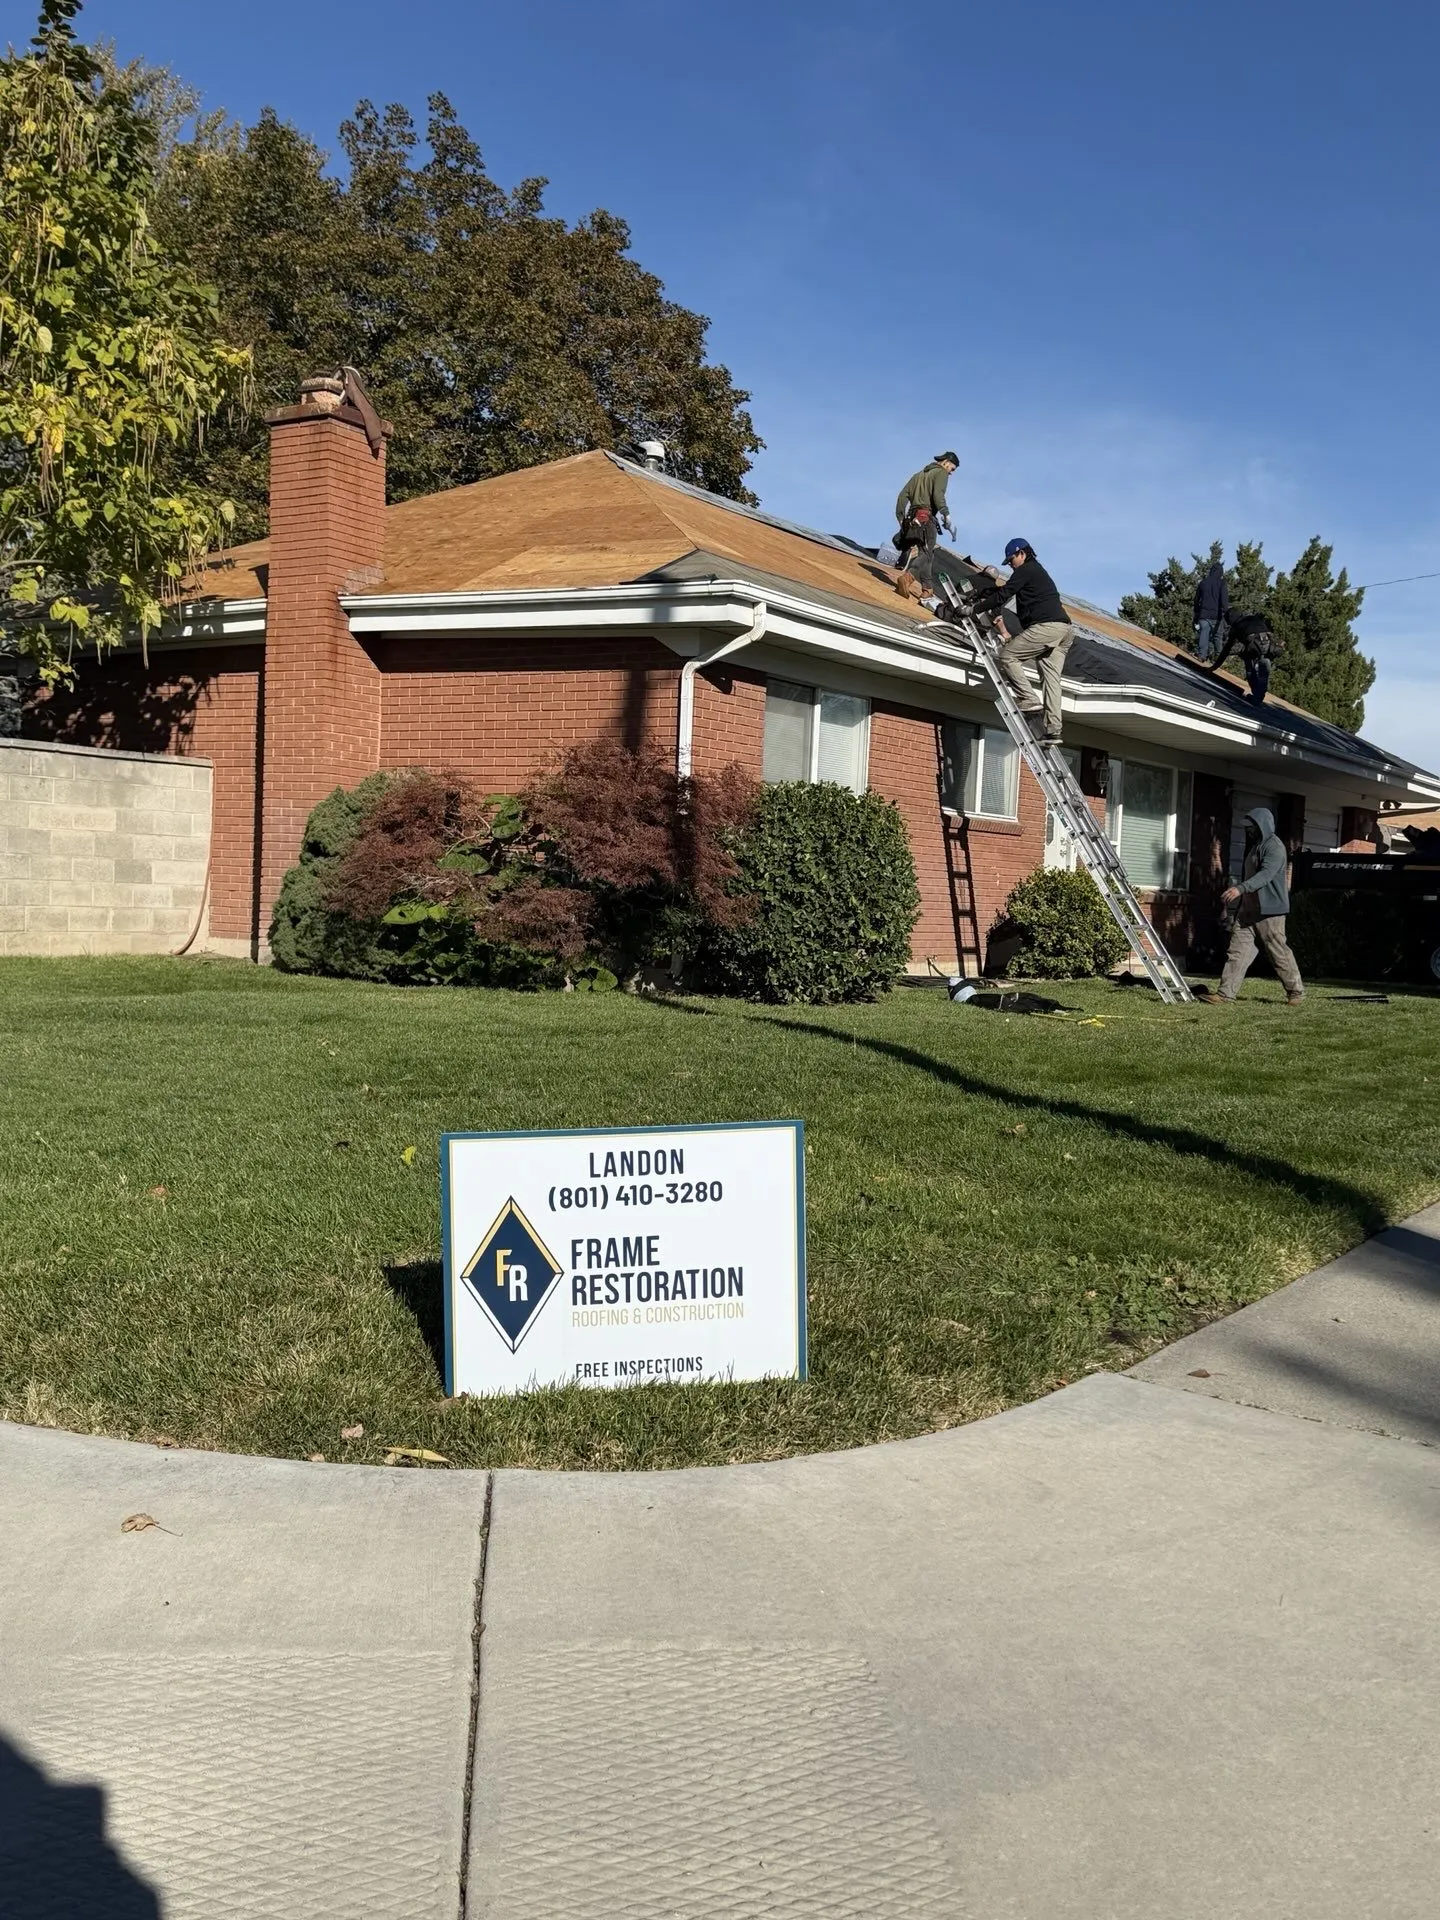
Roof storm-damage documentation in Utah should be straightforward: save the storm date, photograph visible damage, get a licensed roof inspection, and keep the construction scope organized. In practice, homeowners often get stuck because policy language, carrier paperwork, and construction scope use different terms.
This guide walks through the documentation process from the moment you discover damage to the final construction scope, with a clear boundary: Frame Restoration Utah documents roof facts and construction scope; policy decisions stay with your carrier or licensed insurance professional.
Step 1: Document Everything Immediately
Within 24 hours of a storm, walk your property and photograph everything. Take wide shots of the full roof from multiple angles and close-ups of any visible damage — dented gutters, missing shingles, cracked vents, granules in downspouts. Photograph nearby soft metals (mailbox, AC unit, car) that show hail impacts — these corroborate the storm’s severity.
Save the date, time, and weather conditions. Pull relevant National Weather Service or NOAA storm records when available. Weather data does not decide policy coverage, but it helps keep the roof-condition file tied to a specific event.
Step 2: Review Your Policy and Carrier Process
Review your homeowner policy, declarations page, required out-of-pocket amount, wind/hail terms, and notice language before assuming what a carrier review will do. If you decide to request carrier review, write down any reference number, representative name, direct phone number, and deadlines they provide.
Frame Restoration Utah does not interpret policy terms or promise carrier outcomes. We keep the construction documentation clear so the homeowner has a roof-condition record.
Step 3: Get a Professional Roof Inspection
Before or during carrier review, have a licensed Utah roofing contractor inspect your roof. A qualified contractor documents damage patterns that are hard to see from the ground, especially on steep-pitch roofs common in mountain communities like Park City, Heber City, and Midway.
Your contractor's inspection report becomes the construction baseline: roof-plane photos, measurements, shingle condition, soft-metal indicators, ventilation issues, and repair or replacement scope. Frame Restoration Utah provides storm damage inspections with a detailed photo report for this purpose.
Step 4: Keep the Carrier Review Record Clear
If you request carrier review, be available and keep the roof-condition documentation organized. When requested, your roofing contractor can explain photos, measurements, materials, and construction details without acting as an adjuster.
Common construction details to document include ridge caps, pipe-boot flashing, drip edge, starter strips, ice barriers in valleys, ventilation, steep-slope access, and snow-country underlayment requirements.
Step 5: Review the Initial Estimate
Review any repair estimate against the contractor's construction scope. Common construction mismatches include material grade, ridge-cap quantity, pipe boots, drip edge, starter strips, ice-barrier placement, ventilation, rotten decking, and steep-slope access.
Code and manufacturer requirements matter in mountain communities. If replacement is part of the scope, compare the roof assembly against current IRC references, local permit requirements, and manufacturer installation instructions before materials are ordered.
Step 6: Provide Additional Construction Documentation If Needed
If the construction scope needs clarification, your contractor can provide additional documentation: photos, measurements, product requirements, code references, and line-item construction notes.
A good roofing contractor stays in the construction lane. Frame Restoration Utah documents roof conditions and scope details; policy negotiation, coverage advocacy, and settlement decisions stay with properly authorized professionals.
Step 7: Understand Your Required Out-of-Pocket Amount
Required out-of-pocket amounts are policy and legal questions. Utah policies vary: some use flat required out-of-pocket amounts, while others use percentage-based wind/hail terms. Check your declarations page and ask your carrier before assuming the number. Any contractor who offers to “cover your required out-of-pocket amount” or “waive your required out-of-pocket amount” is creating a serious compliance problem — walk away immediately.
Common Mistakes That Hurt the Roof Record
Waiting too long to document: Damage can change over time. A small leak from storm damage can become rotted decking, mold, and interior damage if it stays wet. Document promptly.
Skipping contractor documentation: Without your own contractor's roof-condition record, you may not know the construction scope, material issues, or code questions before carrier review.
Signing with storm chasers: Out-of-state contractors who appear after storms may lack Utah licensing, local accountability, or warranty follow-through. Verify any contractor's Utah DOPL license at dopl.utah.gov before signing anything.
Accepting a scope you do not understand: Review construction line items with a contractor who understands Utah roofing, current code references, and local permit requirements.
Sources & References
- National Roofing Contractors Association — storm-damage documentation
- Utah DOPL — Contractor License Verification
- NWS Salt Lake City Climate Book — Utah weather context
- IRC R905.1.2 — Ice Barriers
- IRC R806.2 — Attic Ventilation
- Utah Code Title 31A Chapter 26 — Insurance Adjusting
- Utah Code Title 13 Chapter 50 — Insured Homeowners Protection Act